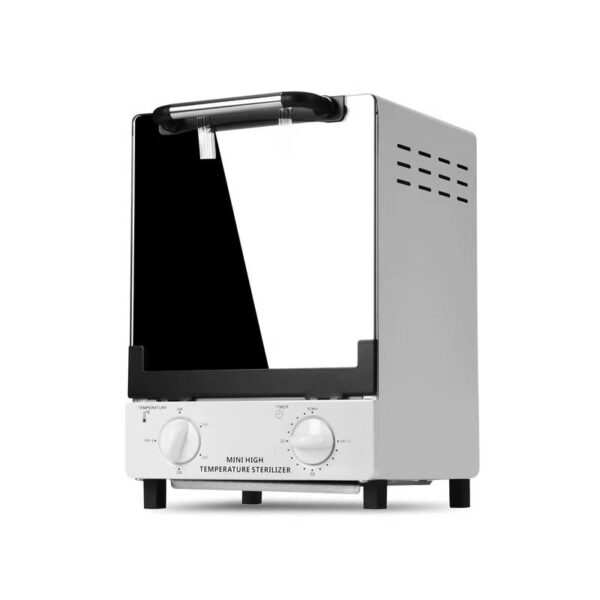
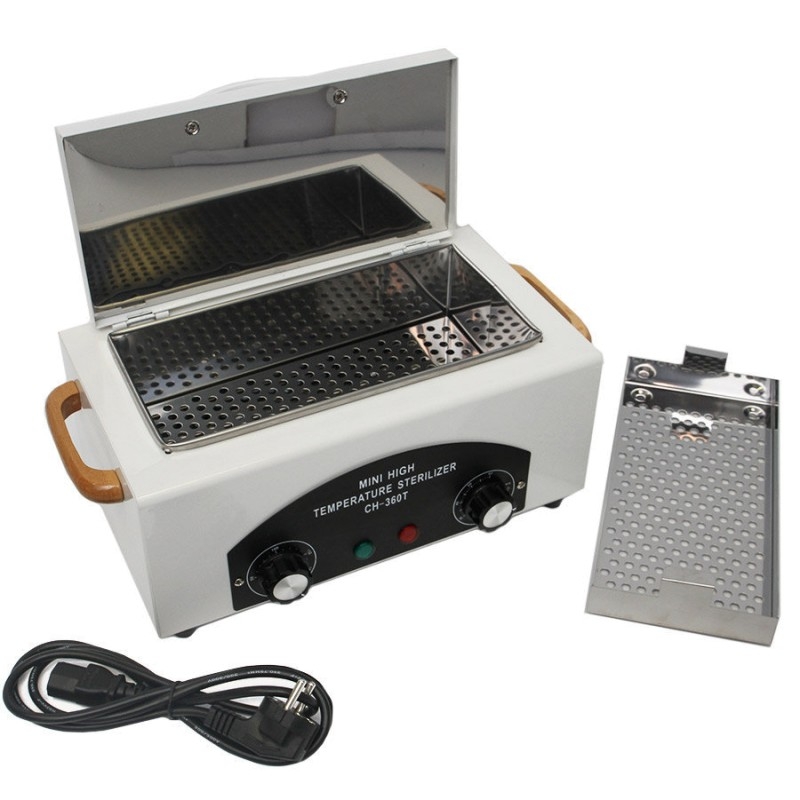
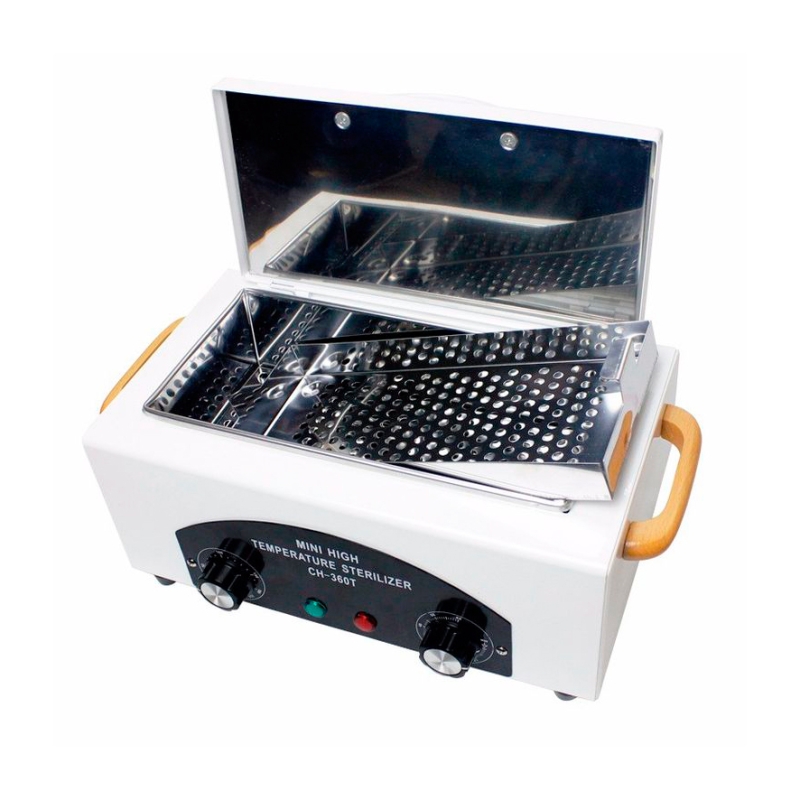
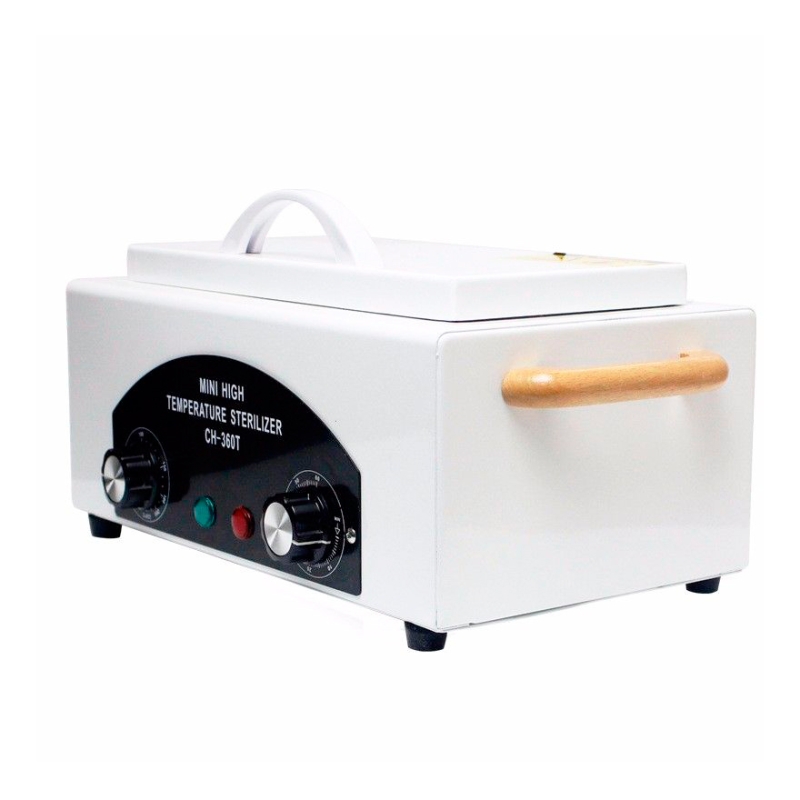
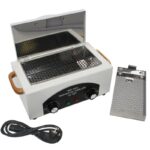
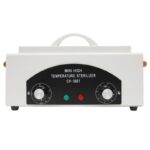
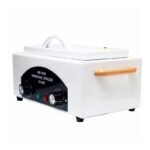
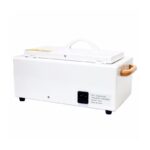
Hot air sterilizer CH-360T is designed for sterilization of manicure and pedicure instruments before the procedure, as well as for cleaning after the procedure. The inner block of the thermosterilizer is made of stainless steel. Inside the device, there is a special removable container for storing and sterilizing instruments. The hot air sterilizer CH-360T is equipped with all the necessary functions for high-quality sterilization.
Timer + timer indicator lamp. The timer allows you to control the sterilization time, which is determined depending on the degree of contamination and the material from which the instrument is made. The following time modes are available: 0 to 60 minutes. When the sterilization time is over, the timer signals this with an acoustic signal;
Temperature regulator + work indicator lamp. With the help of the temperature controller, it is possible to set the temperature conditions necessary for sterilization. The temperature is determined depending on the material of the tool. Available temperature range: 0 to 220 ° C. Unique magnetic switching system.
Thermostat: 0 to 220 °C
Timer: 0 to 60 minutes
Voltage: 220V
Power: 300W
Dimensions: 35x24x22 cm
The volume of the working chamber is 1.8 liters.
Inner chamber size: 24x11x5.5 cm
PRECAUTIONS
ATTENTION !!!
The device is only suitable for metal instruments.
The recommended temperature is no more than 175-180°C for 30 minutes. Next, look at the indicator on the sterilization bag. If the time is greatly exceeded, the tools can become dull!
PREPARATION FOR USE
1. Open the cover and check that the metal container has protective rubber bands on all corners from the top and bottom. If you find it, feel free to peel it off so you don’t have a pungent smell from it when you first start it up.
2. Do the same with the metal base
3. Perform a sterilization test at 150°C for 15 minutes without tools. (How to run – below)
USE
1. Connect the power cord to the sterilizer and the socket (Euro socket).
2. Place the instrument to be sterilized in the stainless steel bath and close the lid of the sterilizer.
3. Determine the required time. Start with a dry heat working temperature of 175-180°C for 15 minutes! At this temperature, 100% of germs and bacteria are killed.
4. Set the required temperature (the sterilizer turns on).
5. The red light indicates that the sterilizer has started working.
6. The green indicator shows that the sterilizer has started heating (as soon as it goes out, the sterilizer has reached the required temperature).
7. The red indicator goes off – sterilization is complete
8. Carefully open the lid of the sterilizer and hook the pallet with two rings (included in the kit) using the special lugs and remove it to the prepared surface.
9. Wait for the device to cool down completely.

 Eesti
Eesti Русский
 suomi
suomi




 BEAUTY BED AND CHAIRS
 Gel-polish
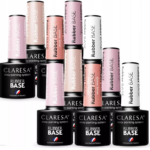 Gel polish base gels
 Color gelpolishes
 Сlaresa gelpolishes
 Color collections
 FUNKY DISCO
 MAKE A WISH
 Palu gelpolishes